Build a useful client tool · 3 min read
How to build a client portal without coding
Plan and build a client portal without coding: choose the client journey, set permissions, show useful records and test the handoff carefully.
Choose the client job the portal will finish
A client portal is useful when a customer needs to return to a private place to check, send, approve or download something. Start with that repeatable job rather than a generic dashboard.
A project update portal might show the current stage, the next decision and the files a client needs. A service portal might hold appointments, invoices and messages. Pick one of those journeys for the first version.
- What does the client come back to do?
- What does your team need to see or change?
- Which status or message tells the client what happens next?
- What should remain outside the portal?

Map who can see and change each thing
The important part of a portal is not the welcome screen. It is the boundary between one client and another. Write the roles down before the screens: client, team member, manager and administrator may each need a different view.
For every record, decide who may read it, who may add to it, who may edit it and who may delete it. If a rule is unclear, leave the action out of the first version until you can explain it.
- Name each role in everyday words.
- List the records each role needs.
- Mark read, create, edit and delete access separately.
- Decide what happens when a client leaves or a project closes.
Tip. Test with two separate client accounts. Seeing the right record is not proof that the other account is blocked.

Keep the client screen calm and useful
A client should understand the current state within a few seconds. Put the project name, the status, the next action and the person to contact near the top. Move old detail behind a clear label rather than making the client search through a wall of cards.
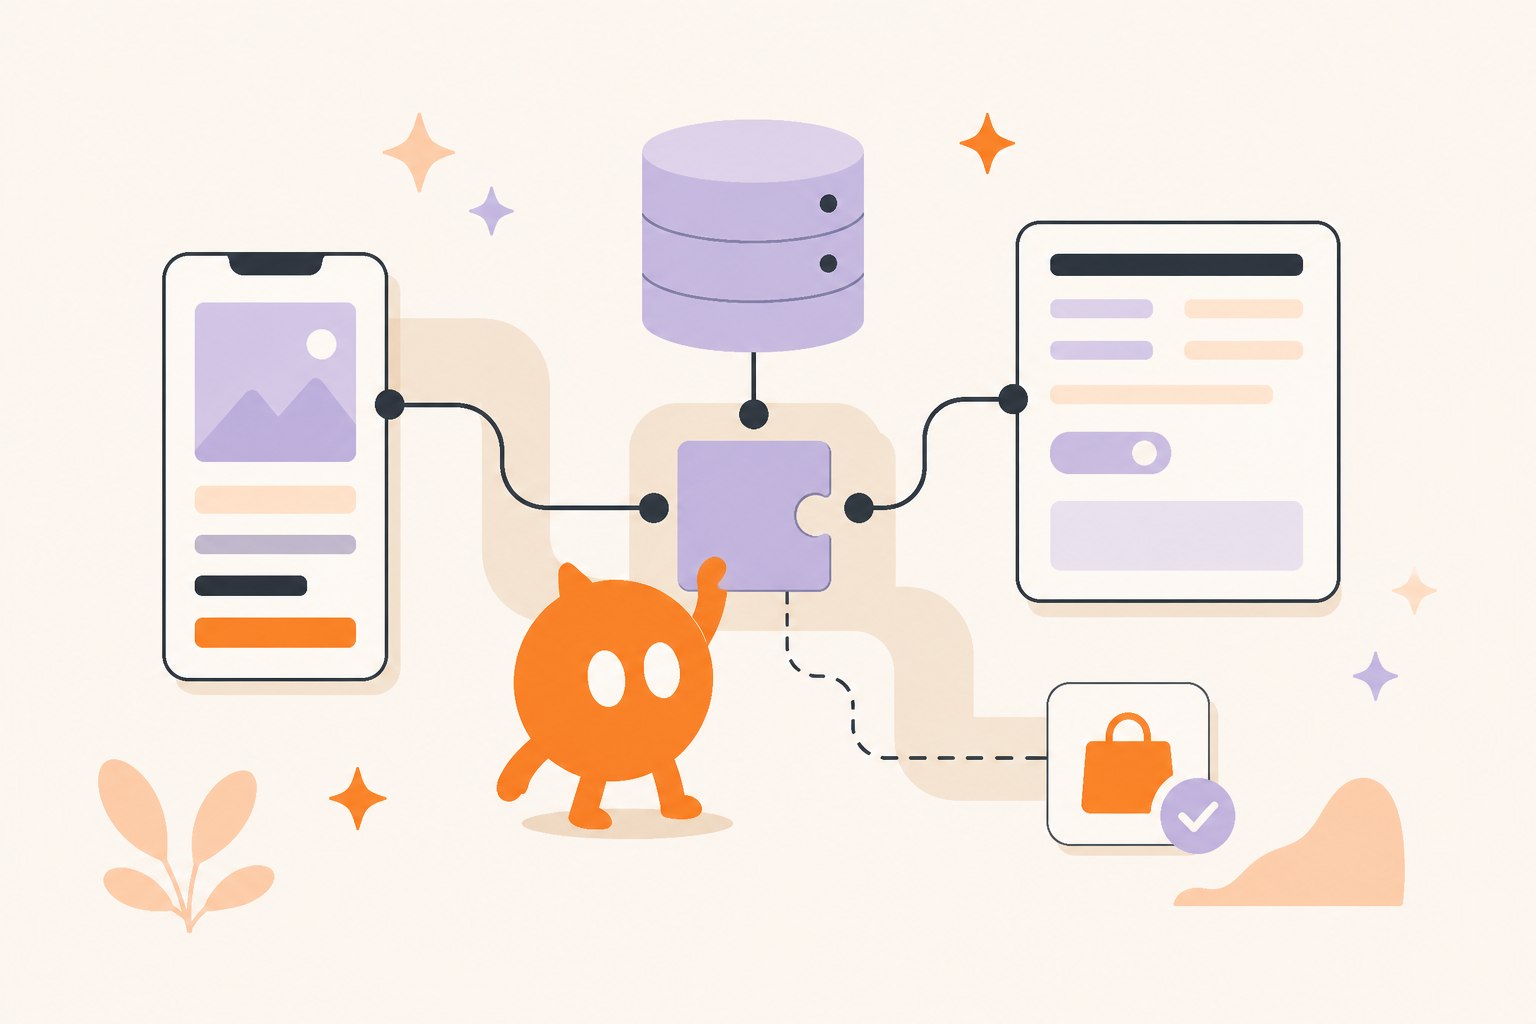
Ask Grafter for the actual client journey: sign in, see the current status, review a file, leave a message and return later. That produces a tool with a purpose instead of a collection of empty panels.
Test the handoff before inviting clients
Create a test client, invite them, sign in from a phone and complete the central task. Then sign in as a different client and confirm that the first client's records are absent. Try an expired link, an empty message, a deleted file and a project that has reached its final state.
If the portal sends email, accepts uploads or takes payment, test the complete path with non-production details first. A button that looks finished is not the same thing as a workflow that has delivered its result.
Keep ownership and support clear
Tell clients what the portal is for, where replies arrive and how long a response normally takes. Keep your domain, source files and connected accounts under the right ownership so the portal can be handed over or moved when the relationship changes.
Common questions
- Can I build a client portal without coding?
- Yes. A visual or AI builder can create the screens and workflow for a portal. The careful work is deciding permissions, testing separate accounts and making sure private records stay private.
- What should a client portal include?
- Start with the one job clients repeat: checking a status, sharing a file, approving a step, booking a time or sending a message. Add dashboards and secondary features after that path is clear.
- How do I keep client data separate?
- Give each client an account or another reliable identity, scope every record to that client, and test with two accounts. Do not rely on a hidden button or a client ID in the browser alone.