Plain-English guide · No payment jargon required · 12 min read
How to add Stripe payments to an AI-built app
A beginner-friendly guide to Stripe Checkout, API keys, products, prices, webhooks and testing—plus a safe prompt you can use with any AI app builder.
Visual guide. The animated walkthrough follows an $85 test purchase through a generic app and server. It separates browser-safe data from server secrets, shows the Checkout Sessions API request, a Stripe-hosted test checkout and the signed webhook that marks the order paid once.
Read the video transcript
A safe payment travels from the customer’s browser to your protected server, then to Stripe Checkout; a signed webhook brings the trusted result back.
The publishable key may appear in the browser, but the secret API key and webhook secret stay on the server and never go into AI chat.
Your server looks up the real price and asks Stripe’s Checkout Sessions API to create one temporary checkout journey.
Stripe’s hosted test page collects and validates the payment details, so your app does not handle raw card numbers.
The success page is not proof. Verify Stripe’s signed webhook, mark the matching order paid once, and only then deliver the purchase.
💳 The short answer: what you are actually building
A real payment feature is not just a Buy button. The button starts a conversation between your app’s server and Stripe. Stripe creates a secure checkout page, the customer pays there, and Stripe sends your server a signed message when the payment finishes. Only then should your app mark an order as paid, unlock a download or confirm a booking.
That explanation works whether your app was made with code, a no-code tool or an AI builder. The screens may look different, but the safe payment journey is the same. If your builder only draws a payment form without connecting the server and the webhook, it has designed a picture of checkout—not a working checkout.
The five pieces
- Your app
- Shows the product and gives the customer a clear Pay button.
- Your server
- Keeps secret keys private and asks Stripe to start checkout.
- Stripe Checkout
- Collects the card or other payment method on a secure payment page.
- A webhook
- Tells your server what really happened, even if the customer closes the tab.
- Your database
- Stores your order, booking or access as paid exactly once.
Tip. The golden rule: the browser may ask to buy something, but your server decides the real price and Stripe confirms whether it was paid.

1. Pick the simplest Stripe route that fits
Stripe offers several ways to take money. Beginners often start with the hardest option because ‘custom’ sounds more professional. It usually means more code, more security work and more ways to get the final state wrong. Start with the least complicated route that completes the sale.
For most AI-built web apps, Stripe Checkout is the sensible default. Your server creates a Checkout Session and Stripe gives it a temporary checkout address. The customer is sent to Stripe’s hosted page, where Stripe handles the payment form, validation and any extra bank authentication. You can still set your logo, colours and business details in Stripe.
| Option | Use it when | What you must build |
|---|---|---|
| Payment Link | You sell one simple item and do not need the app to create an order first. | Make the link in Stripe and connect a button to it. |
| Stripe Checkout | Your app needs a proper order, booking, basket or paid-access result. | A small server route, a Checkout Session and a webhook. |
| Embedded Checkout | You want Stripe’s checkout to sit inside your page. | The same server work, plus an embedded payment surface. |
| Elements / Payment Element | You need deep control of the checkout layout and understand the extra work. | A custom payment interface and more client/server state. |
Note. Subscriptions are not simply a one-off payment repeated each month. They add recurring Prices, subscription events, failed-payment recovery, cancellations and access rules. Build that as its own workflow.
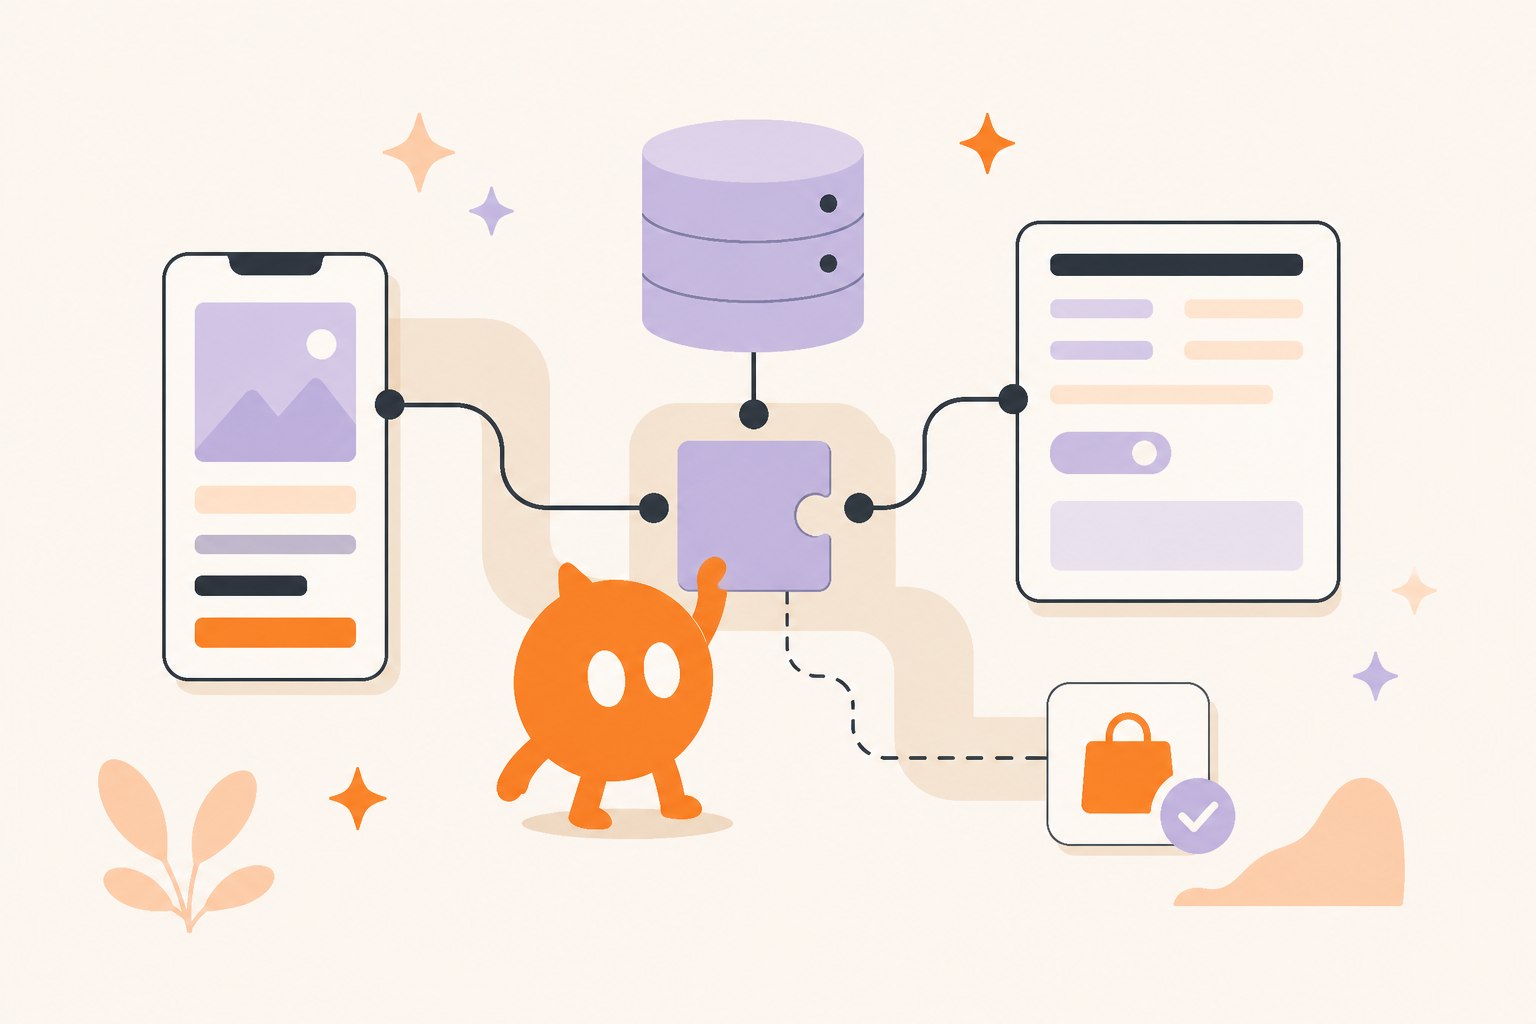
2. Stripe API words, translated for humans 🧠
An API is simply a controlled way for two pieces of software to ask each other to do something. Your server sends Stripe a structured request such as ‘start checkout for this price, quantity one’. Stripe checks the request, creates the payment session and returns structured information such as the session ID and checkout address.
You do not need to memorise Stripe’s object names, but you do need to know which job each one performs. These are the names an AI builder will use in its plan and code, so understanding them makes it much easier to spot a fake or unsafe implementation.
| Stripe word | Plain-English meaning |
|---|---|
| Product | What you sell: for example, a consultation, course or T-shirt. |
| Price | How that product is charged: amount, currency, and one-off or recurring. |
| Checkout Session | One temporary checkout journey for this customer and this basket. |
| PaymentIntent | Stripe’s record of the attempt to collect a particular payment. Checkout manages it for you in most simple builds. |
| Customer | An optional Stripe record that groups a person’s payments, subscriptions and saved details. |
| Metadata | Small labels such as your own order ID, used to match Stripe’s record to yours. Never put secrets in it. |
| Webhook | A signed server-to-server notification from Stripe: ‘checkout completed’, ‘payment failed’ or another event. |
| Idempotency | Protection against doing the same money action twice when a request is retried. |
3. Know which Stripe keys can go where 🔐
Stripe keys identify your account and decide what a piece of software is allowed to do. A publishable key is designed for the browser. A secret key is an account credential and belongs only in protected server settings. A webhook signing secret has a third job: it lets your server check that a webhook really came from Stripe and was not invented by somebody on the internet.
Test keys and live keys connect to separate worlds. Test mode can create realistic payments without moving money. Live mode can charge real customers. Keep the environments separate all the way through: test key, test Price, test webhook and test order together; live key, live Price, live webhook and live order together.
| Credential | Where it belongs | What not to do |
|---|---|---|
| Publishable key (pk_…) | Browser or mobile client when the Stripe interface needs it. | Do not mistake it for permission to create charges on your server. |
| Secret key (sk_… or restricted rk_…) | Server environment variables or your platform’s protected secrets screen. | Never paste it into AI chat, page code, screenshots or a public repository. |
| Webhook secret (whsec_…) | The server handling Stripe events. | Do not use it as an API key or expose it to the browser. |
Tip. If a secret key has appeared in a prompt or public file, remove it and rotate it in Stripe. Hiding the old copy does not make that key secret again.
4. Follow one payment from click to completion
Imagine an app selling an $85 garden consultation. The page can show that price, but the server still looks up the trusted Price or product record. That stops somebody editing the browser request and turning $85 into 85 cents.
Stripe’s return page is useful for the customer, but it is not proof of payment. A customer might pay and close the tab before returning. Someone might also type a success-looking address into the browser. The webhook is the reliable message because it travels from Stripe to your server and carries a signature your server verifies.
- The customer presses Book and pay.
- The app sends your server a product or Price ID and the quantity—not a price invented by the browser.
- Your server checks the item, creates a pending order and asks Stripe’s Checkout Sessions API to start checkout.
- Stripe returns a Checkout Session with a secure checkout address.
- The browser opens Stripe Checkout and the customer pays or cancels.
- Stripe sends a signed checkout.session.completed event to your webhook when payment completes.
- Your server verifies the signature, marks the matching order paid once, and delivers the real result.
- The customer sees a confirmation screen that reads the trusted order state rather than trusting the address bar.
Note. Webhooks can arrive more than once or out of order. Store the Stripe event or Session ID you processed and make fulfilment safe to repeat without creating two bookings, downloads or credit grants.

5. Decide what payment changes inside your app
Before asking an AI builder to add Stripe, write one sentence that finishes this thought: ‘After Stripe confirms payment, my app will…’. A shop might create a paid order. A booking app might reserve the chosen time. A course might grant access. If you cannot finish that sentence precisely, the builder cannot create a reliable fulfilment rule.
Give every purchase your own order or booking ID before checkout starts, then attach that ID to the Checkout Session as metadata. It becomes the bridge between your database and Stripe’s payment record. Keep the amount on the server, record the currency explicitly, and decide how stock or appointment availability is protected while the customer is paying.
Write these decisions down
- Thing being sold
- Exact product, service, deposit, membership or access.
- Trusted amount
- Price and currency stored on the server or as a Stripe Price.
- Pending state
- What exists before payment and how long it remains valid.
- Paid result
- The record, access or booking created after the webhook is verified.
- Cancellation
- Where the person returns and what remains in their basket or form.
- Refund/support owner
- Who can find the payment, refund it and help the customer.
6. Give any AI app builder a testable payment brief
Do not stop at ‘add Stripe’. That leaves the builder to guess whether you want a link, hosted Checkout, a subscription or a decorative form. Name the sale, trusted data, server action, webhook result, customer states and what existing work must stay unchanged.
Ask the builder to explain its planned payment flow before it edits. A good plan names the server endpoint, where secrets live, which Stripe event confirms payment, which database record changes and how duplicate events are handled. If the answer only talks about buttons and colours, it has not planned the payment system yet.
7. Using the same flow in Grafter
Grafter is one way to apply the universal flow above. Connect the Stripe account that should receive the money from the protected Payments area, then create the real item in the app’s Products screen. Do not paste a secret key into the editor chat. Once the connection and product exist, send the builder a bounded prompt naming the product and the page where its payment action belongs.
Grafter’s current built-in route is for one-off Checkout. It does not silently add subscriptions, invoices, an order desk or a refund centre. Stripe remains the payment record. If your product needs a separate booking, delivery, membership or fulfilment system, say so explicitly and test that result after Stripe confirms the payment.
- Open Dashboard → Payments and connect the Stripe account that should be paid.
- Confirm the correct account is connected and begin in Test mode.
- Open the app’s Products screen and add the real name, amount and currency.
- Open the editor and adapt the universal prompt above to your product and paid result.
- Review the product card and payment states on phone and desktop.
- Publish or export the exact checked version and test checkout on the app’s own address.
Note. Grafter’s sealed editor preview cannot open the external hosted checkout. Test the final button on the app’s own published or exported address before calling it broken.
8. Test the boring failures before real money
Use Stripe’s test environment and documented test payment details. A successful test is only the beginning. Cancel from checkout, simulate a decline, refresh the return screen, press Pay twice, retry a webhook and complete payment after leaving the tab open for a while. Each path should end in one honest state and never deliver twice.
Check both sides. Stripe should contain the expected test Session and payment. Your app should contain one matching order, booking or access record. The product, amount, currency and your own reference should agree. A green confirmation page without matching provider and database records is not a passing payment test.
| Test | Passing result |
|---|---|
| Success | One Stripe payment and one paid result in your app. |
| Cancellation | No paid claim; the person can return or try again safely. |
| Decline | A useful error appears and the order remains unpaid. |
| Double press | The button locks or the server safely reuses the attempt; no duplicate order. |
| Webhook retry | The event can repeat without granting the purchase twice. |
| Typed success URL | No purchase is unlocked without verified server state. |
| Phone layout | The item, amount and payment action remain readable and reachable. |
Tip. Never test live mode with a real card just to see whether the code works. Use Stripe’s sandbox and test values until every result is predictable.
9. Move to live mode carefully ✅
Live mode uses different keys, webhook secrets and Price IDs from test mode. Replace the whole set deliberately, register the live webhook address and run one small real purchase only after the test checklist passes. Confirm the money reached the intended Stripe account and the paid result appeared once.
Payments create an ongoing support job. Decide who watches failed webhooks, handles refunds and disputes, answers receipt questions and reconciles Stripe with your orders. Also decide who owns tax, privacy and consumer-law obligations in every place you sell. The integration can move money; it cannot make those business decisions for you.

Common questions
- What does the Stripe API do?
- It lets your server ask Stripe to create and manage payment objects in a controlled, structured way. For a simple Checkout build, your server uses the API to create a Checkout Session and receives the secure checkout address. Stripe later uses a webhook to tell your server what happened.
- What is the easiest way to add Stripe to an AI-built app?
- Use a Stripe Payment Link when a fixed link is enough. Use Stripe Checkout when your app must create an order, booking or paid-access result. Checkout handles the payment page while your server handles trusted prices, webhooks and fulfilment.
- Can I put my Stripe secret key into an AI builder?
- Only use a platform’s protected secrets or integration screen. Never paste the key into ordinary AI chat, client-side code or a public repository. Secret keys belong on the server and exposed keys should be rotated.
- Do I need a webhook for Stripe Checkout?
- Yes, if your app automatically delivers something after payment. The return page is not reliable proof because a customer might never reach it and a URL can be copied. A signature-verified webhook is the dependable server-to-server confirmation.
- Does Stripe Checkout support subscriptions?
- Yes, but subscription mode is a larger workflow than one-off payment mode. You must also handle renewals, failed recurring payments, cancellations and access changes through subscription events.
- Can Grafter add Stripe payments to an AI-built app?
- Yes. Connect the receiving Stripe account under Payments, add the real item in the app’s Products screen, then ask the editor for a bounded one-off checkout. Test the published or exported app in Stripe Test mode before using live money.